

T-shirts are everywhere—gym bags, concert merch, startup uniforms, you name it. If you’re starting a clothing brand or sourcing apparel, understanding how T-shirts are made is essential. The T-shirt manufacturing process determines fabric quality, production cost, and delivery timelines.
This guide walks you through the complete t shirt manufacturing process, from fabric to finished cartons, with startup-friendly notes on MOQs, cost drivers, and lead times.
Overview: How T Shirts Are Made
At a high level, the t-shirt production process moves through: fabric selection, knitting, dyeing and finishing, pattern making and grading, fabric spreading and cutting, sewing and assembly, printing or embroidery, quality inspection, then packaging and shipping. If you’re mapping how t shirts are manufactured at a factory, these are the checkpoints you’ll manage from sampling to bulk.
Step-by-Step T-Shirt Manufacturing Process
Step 1 – Fabric Selection
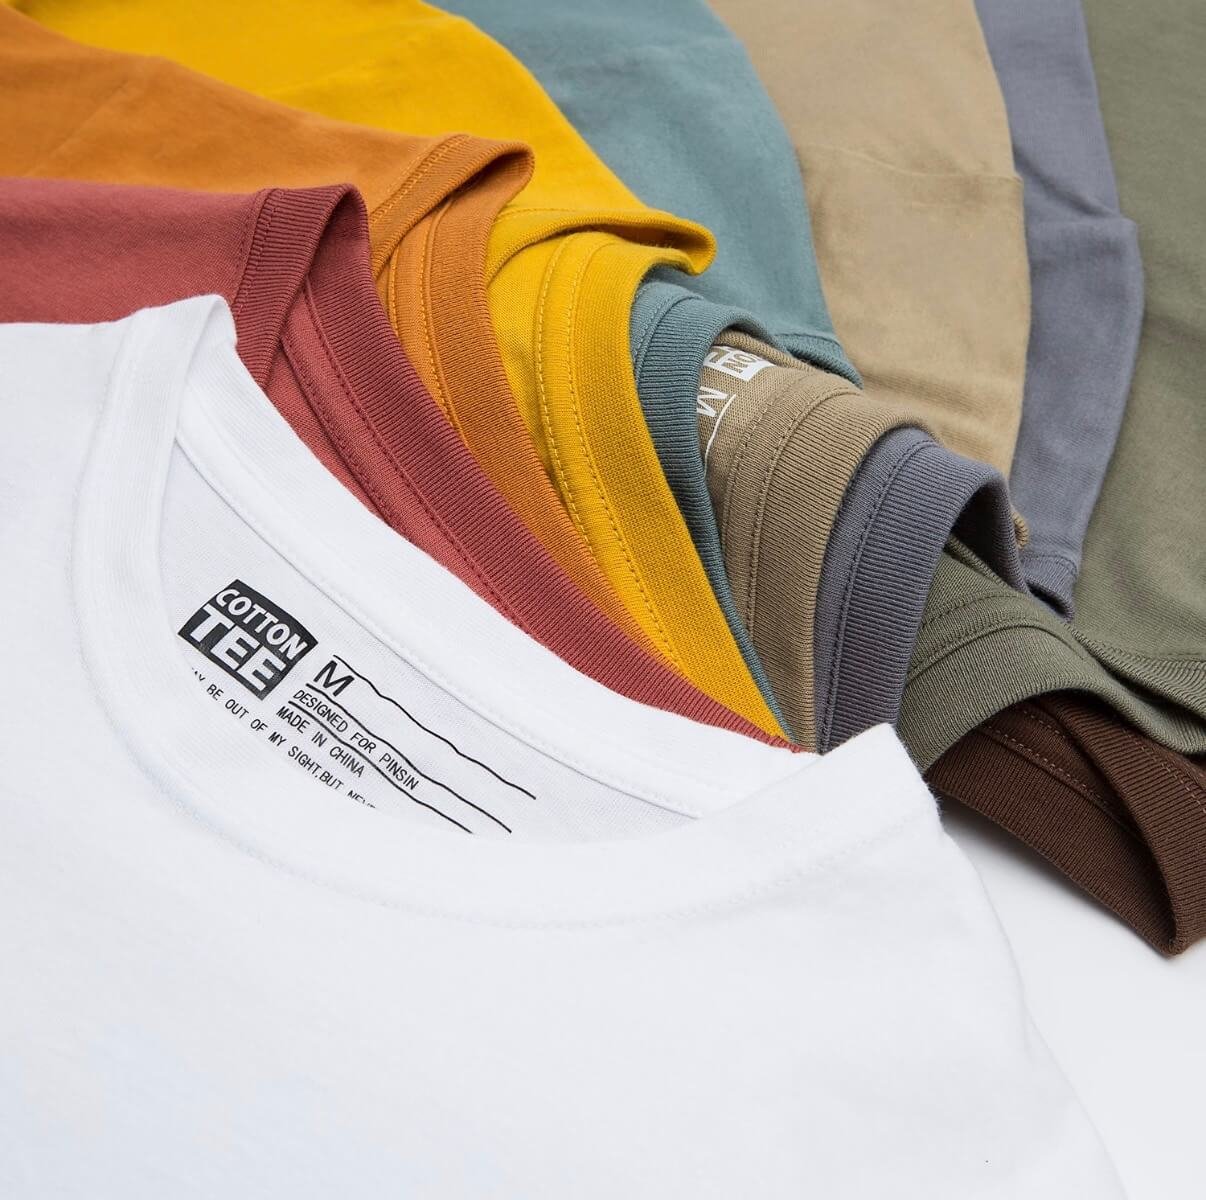
Most tees use single-jersey knits made from 100% cotton, cotton–poly blends, or organic cotton. Weight (GSM) typically ranges from ~140–220 for mainstream tees. Softer handfeel comes from combed or ring-spun yarns; blends add durability and faster drying.
Startup note: Fabric is your biggest cost driver. Each colorway can trigger its own minimums at the mill or dyehouse, so more colors often mean higher MOQs and unit costs.
Step 2 – Fabric Knitting
Cotton yarn becomes fabric on circular knitting machines (single jersey is standard for tees). Machine gauge, stitch length, and yarn tension determine GSM and drape. Some lines produce tubular fabric; others knit open-width for easier processing.
For a plain-English primer on circular knitting machines and how settings affect output, see the instructional overview by CottonWorks in the knit machinery section: CottonWorks’ knit machinery overview.
Checkpoint: Weigh small swatches during production to confirm GSM against spec; adjust stitch length if weight drifts.
Step 3 – Fabric Dyeing
Fiber type dictates dye class. Cotton is typically dyed with reactive dyes that form strong bonds with cellulose, supporting good wash fastness. Polyester in blends needs disperse dyes at higher temperature/pressure. Many factories run blends in two steps (reactive for cotton, disperse for poly) to hit shade and fastness.
For a clear comparison of reactive versus disperse systems and blend approaches, review this industry explainer: SkyChemi on disperse vs reactive dyes.
Checkpoint: Approve lab dips under standard light (D65) and run quick wash/rub tests before bulk. Consistent after-wash and neutralization improve colorfastness and reduce crocking.
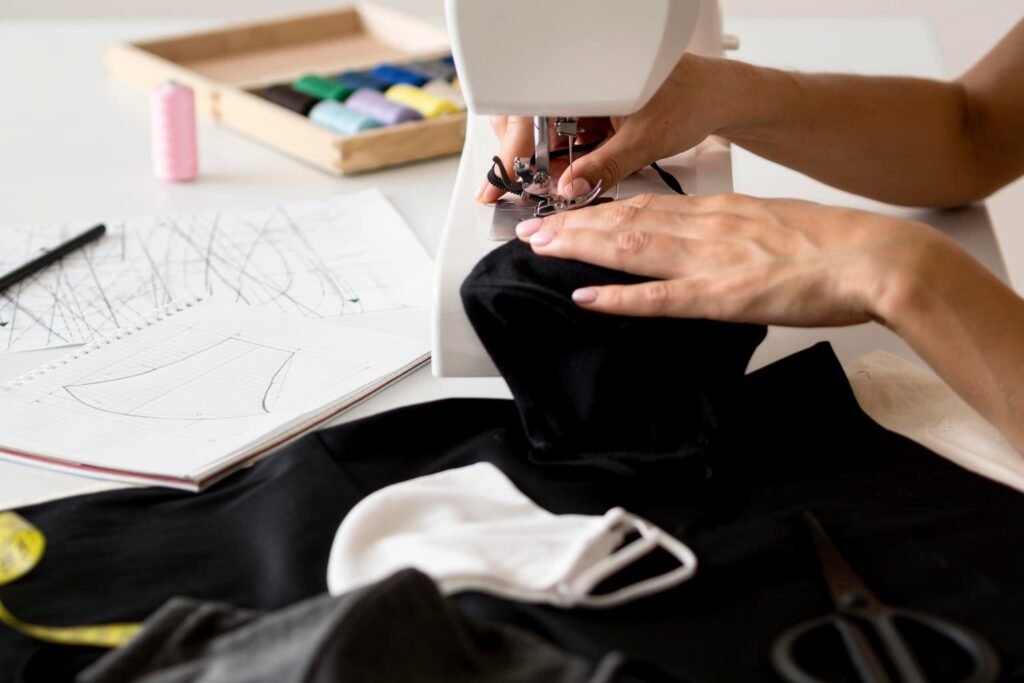
Step 4 – Pattern Making
Pattern makers translate your fit block into production patterns, then grade them to sizes (e.g., XS–XXL). CAD systems (Gerber, Lectra) help maintain measurement accuracy and link patterns to efficient cutting markers.
Checkpoint: Before cutting, confirm seam allowances, notches, grainlines, and label positions. Approve a pre-production sample (PPS) to lock the spec.
Step 5 – Fabric Cutting
Cutting starts with spreading multiple fabric plies on a cutting table. After relaxation time (often overnight for knits), the factory places a marker (your pattern layout) and cuts with straight/round knives or CNC systems. Good markers boost yield and save real money.
For why automated cutting and marker optimization matter, see this overview of modern cutting workflows from Lectra’s fashion systems: Lectra Vector cutting systems overview.
Checkpoint: Inspect fabric with a 4-point system before cutting, and flag defects to avoid placing them in visible zones. Relaxation reduces shrinkage and spirality in bulk.
Step 6 – Sewing and Assembly
Operators join panels using overlock (for edges and seams), then finish hems and collars with coverstitch. Lockstitch handles labels and topstitch details. Needle choice for knits (ballpoint), correct thread tension, and differential feed all help prevent seam puckering.
Checkpoint: Use in-line QC at critical operations (shoulders, neck, hem) so you catch defects early instead of at final inspection.
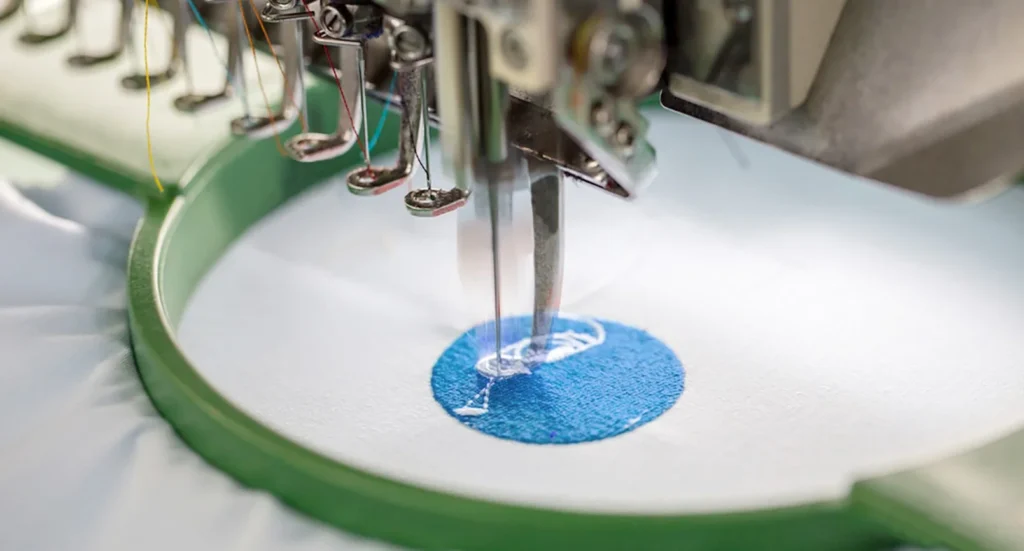
Step 7 – Printing or Embroidery
Screen printing is efficient for larger runs and designs with limited colors; after setup, the per-unit cost is low and durability is strong. Direct-to-garment (DTG) excels at small runs and complex artwork but scales poorly for volume. If you’re comparing the two, this practical breakdown is a helpful reference: Printavo’s guide to DTG vs. screen printing.
For plastisol screen prints, internal ink temperature typically needs to reach about 320°F for a proper cure; always validate with wash tests on production fabric.
Checkpoint: Approve strike-offs/test prints, confirm Pantone targets after cure, and check registration and handfeel.
Step 8 – Quality Inspection
Most brands use AQL (Acceptable Quality Limit) sampling before shipment. A common setup for apparel is Critical 0.0, Major 2.5, Minor 4.0 at General Level II. Inspectors check measurements, visual defects, seam quality, print cure/alignment, labeling, and packing.
If you need a refresher on AQL tables and how pass/fail thresholds are set, see this concise guide: QIMA’s explanation of AQL sampling.
Checkpoint: Don’t skip in-line audits—final AQL isn’t a substitute for process control.
Step 9 – Packaging and Shipping
After trimming threads and final pressing, tees are folded, polybagged with size stickers/barcodes, and packed into inner and master cartons with shipping marks. Add desiccants if humidity is a risk. Coordinate shipping mode (air for speed, ocean for savings) based on your launch date and budget.
How Long Does It Take to Manufacture T-Shirts?
Here’s the deal: timelines depend on fabric availability, order size, colorways, decoration complexity, approvals, and factory capacity.
- Sampling: 3–7 days for a basic tee; 2–4 weeks if you include custom fabric/colors and multiple revisions.
- Bulk: 5–14 days for small/medium orders using stock fabrics; 4–8 weeks for large orders, custom-dyed fabrics, or complex decoration.
Drivers that extend timelines include non-stock fabrics (lab dips and dyeing add weeks), adding colorways or placement prints, slow approvals between sample rounds, and peak-season capacity constraints.
Why Understanding the T-Shirt Production Process Matters for Brands
Clarity on the t-shirt factory process helps you set realistic launch dates, choose the right fabric and decoration, and avoid unplanned costs. It also builds better relationships with suppliers because your requests match shop-floor realities.
Common startup pitfalls to avoid:
- Incomplete tech packs (missing measurements, fabric specs, or print placements)
- Changing specs after PPS approval
- Underestimating color approvals (lab dips/strike-offs)
- Skipping in-line QC and relying only on final inspection
Understanding how T-shirts are made helps brands make better decisions about fabrics, printing methods, and production timelines. With the right manufacturing partner, brands can transform design ideas into high-quality products ready for market.
FAQ
How long does it take to manufacture custom T-shirts?
For most clothing manufacturers, the timeline depends on fabric availability, order quantity, and printing complexity.
Sampling usually takes 3–10 days for a basic T-shirt. Bulk production typically takes 3–6 weeks for medium orders. If custom-dyed fabrics or multiple colorways are required, production may take 6–8 weeks.
To avoid delays, brands should finalize tech packs, artwork, and size specifications before sampling begins.
What is the minimum order quantity (MOQ) for custom T-shirts?
MOQ varies depending on the manufacturer and customization level. Many clothing manufacturers set a minimum order quantity of 100–300 pieces per style for custom T-shirts.
However, some factories allow smaller runs for startups if stock fabrics are used. Using existing fabric colors and limiting the number of print colors can help reduce the MOQ.
What fabric is best for high-quality T-shirts?
The most common fabric for high-quality T-shirts is 100% cotton, especially combed or ring-spun cotton, because it feels soft and breathable. Cotton-polyester blends are also popular because they improve durability and reduce shrinkage.
For premium T-shirts, many brands choose 180–220 GSM cotton fabric, which provides a thicker and more structured feel compared to lightweight fabrics.
What factors affect the cost of manufacturing T-shirts?
Several factors influence the final cost of T-shirt production. The most important ones include fabric type, fabric weight (GSM), printing method, order quantity, and packaging requirements.
For example, heavyweight cotton fabric, embroidery decoration, and multiple color prints will increase production costs. Larger orders usually reduce the unit price because manufacturers can optimize fabric cutting and production efficiency.
What printing methods are commonly used for T-shirts?
The most common T-shirt printing methods are screen printing, DTG (direct-to-garment) printing, and embroidery.
Screen printing is the most cost-effective option for large orders because the setup cost is spread across many pieces. DTG printing works well for small batches and complex designs with multiple colors. Embroidery is often used for logos and premium branding details.
Conclusion
From fabric selection and knitting to dyeing, cutting, sewing, decoration, and final inspection, the t shirt production process is a repeatable workflow with clear checkpoints. When you grasp how t shirts are manufactured—and where time and money are spent—you can brief better, price accurately, and hit launch dates more consistently.
If you need a manufacturing partner that can support OEM/ODM tees from sampling through bulk with clear communication, consider working with Easson Apparel.